PiCam — a Camera in a Lunchbox
A programmable camera and web server
Hamish Cunningham), September 2013
DRAFT, unfinished
Contents
1. Introduction
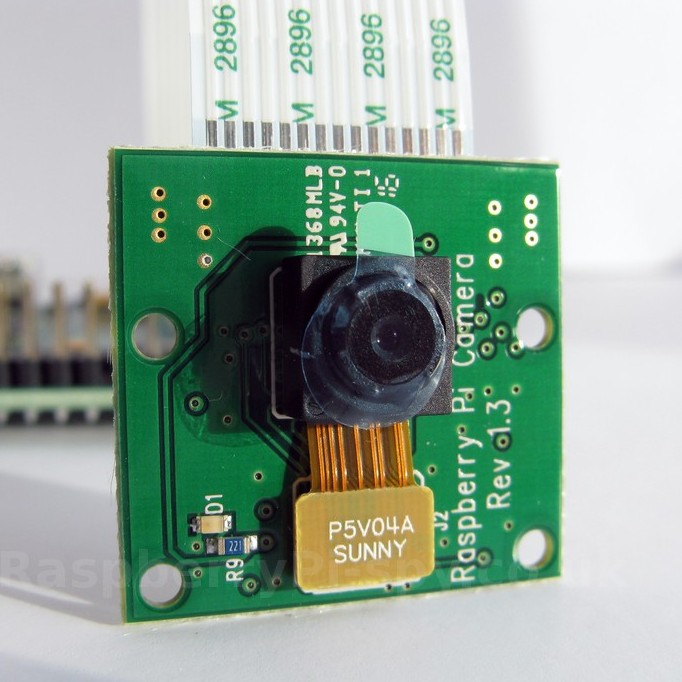
Here it is: a 5 mega-pixel still picture and HD video camera for less than what I spend on coffee in a bad week.
The camera comes attached to a thin ribbon cable about 15 centimetres long and hooks up directly onto the Pi circuit board. And you can program it! You can tweak it! You can rip the front off, slice off the filter and get it to work on infra-red1!
You can also, of course, stick it inside a small cuddly animal and send it into the stratosphere hanging from a balloon:
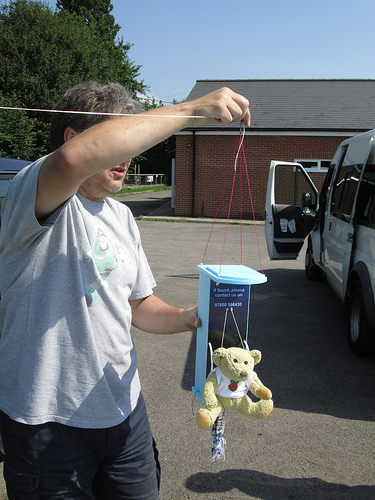
But you knew that, I'm sure.
This page is about putting a camera in a box, with a screen, and serving the pictures taken direct onto the web.
2. Building It
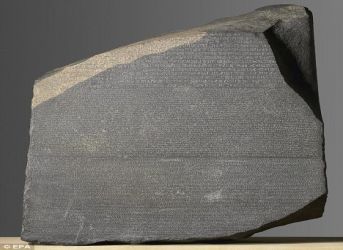
How do you build a statue of an elephant? First take one large grey block of stone2:
Then carefully chip away all the bits that don't look like an elephant. (I didn't study art, by the way — I'm entirely self-taught!)
2.1. Connect the Camera
The first step is to install the camera. There's a handy video here — raspberrypi.org/camera — but the main things to remember are:
- the camera is vulnerable to static — if your hair is in the habit of standing on end when you walk across the carpet then you might want to hug a radiator or a lightening conductor or the like before starting (or go all professional on us and use an earth strap)
- the camera slots into S5, the long connector sitting between the HDMI socket and the ethernet socket (or the space for it, on the Model A)
- before inserting the cable you need to a) unpeel the small piece of protective on the top, and b) gently ease up the restraining clip on the top
- the blue face of the ribbon cable faces the ethernet connector
- when the cable is well seated and straight in the slot of the connector, ease the restraining clip down again
Hey presto.
2.2. Prepare the Pi
Fire up your Pi and, if you haven't done it recently, update your list of software packages, upgrade any that have new versions available, and reboot:
  sudo apt-get update
  sudo apt-get upggrade
TODO
- install and configure pagekite
- install pi-cam (will pull in imagemagick etc.) and apache
Now enable the camera module using the raspi-config programme and reboot.
  raspi-config
  sudo shutdown -r now
Our Pi is prepared.
2.3. Connecting (and Modifying) the Screen
http://www.raspberrypi.org/phpBB3/viewtopic.php?t=17651
framebuffer_width=320   # the device resolution is 640x480;
framebuffer_height=240  #   half of that provides good readability
disable_overscan=0
overscan_left=-20
overscan_right=-20
overscan_top=-20
overscan_bottom=-20
2.4. Wire up the Header Pins
| Jumper cable | Function | Pin Number | Role |
| red | 5v out | 2 | screen power |
| green | GPIO 0 | 11 | still / video switch |
| blue | GPIO 2 | 13 | pic switch |
| purple | GPIO 3 | 15 | power switch |
| black | 0v | 20 | ground |
2.5. Devil Worship for Photographers
prob just reference packaging
- from fred re. thumbnails:
- Usually an image is resized using just the -geometry option:
- convert in.jpg -geometry 25% out.jpg
- This results in a very nice resize but it's fairly CPU intensive. It takes
about 145 ms on my desktop. The command uses some sort of clever maths
which I'm not going to bother finding the details of, but sufficed to say
it's not a simple interpolation scheme, but some sort of matrix
transformation. It is possible to tell convert to use a simple
interpolation scheme to resize though:
- convert in.jpg -interpolate integer -interpolative-resize 25% out.jpg
- This tells it to use the pixel nearest the interpolated coordinate
according to floor() rounding. It takes about 47 ms on my desktop, but
visually the image quality is a bit worse - there are signs of aliasing
etc. The only simple interpolation scheme that doesn't have this is this
one:
- convert in.jpg -interpolate average16 -interpolative-resize 25% out.jpg
- This is as it sounds an are average of surrounding pixels. Still a relatively straight forward operation though as it only takes around 80 ms on my desktop. I think it's the best compromise. The timings of course depend on the original image size, but they illustrate the differences. As the scale size goes down, e.g. to 5%, the time to resize decreases.
- Usually an image is resized using just the -geometry option:
if the daemon throws a wobbler and raspivid refuses to run without timeout, try
@reboot /bin/bash -c "cd /home/pi/pi-tronics/pi-cam && /usr/bin/sudo ./pi-cam -c"in .crontab
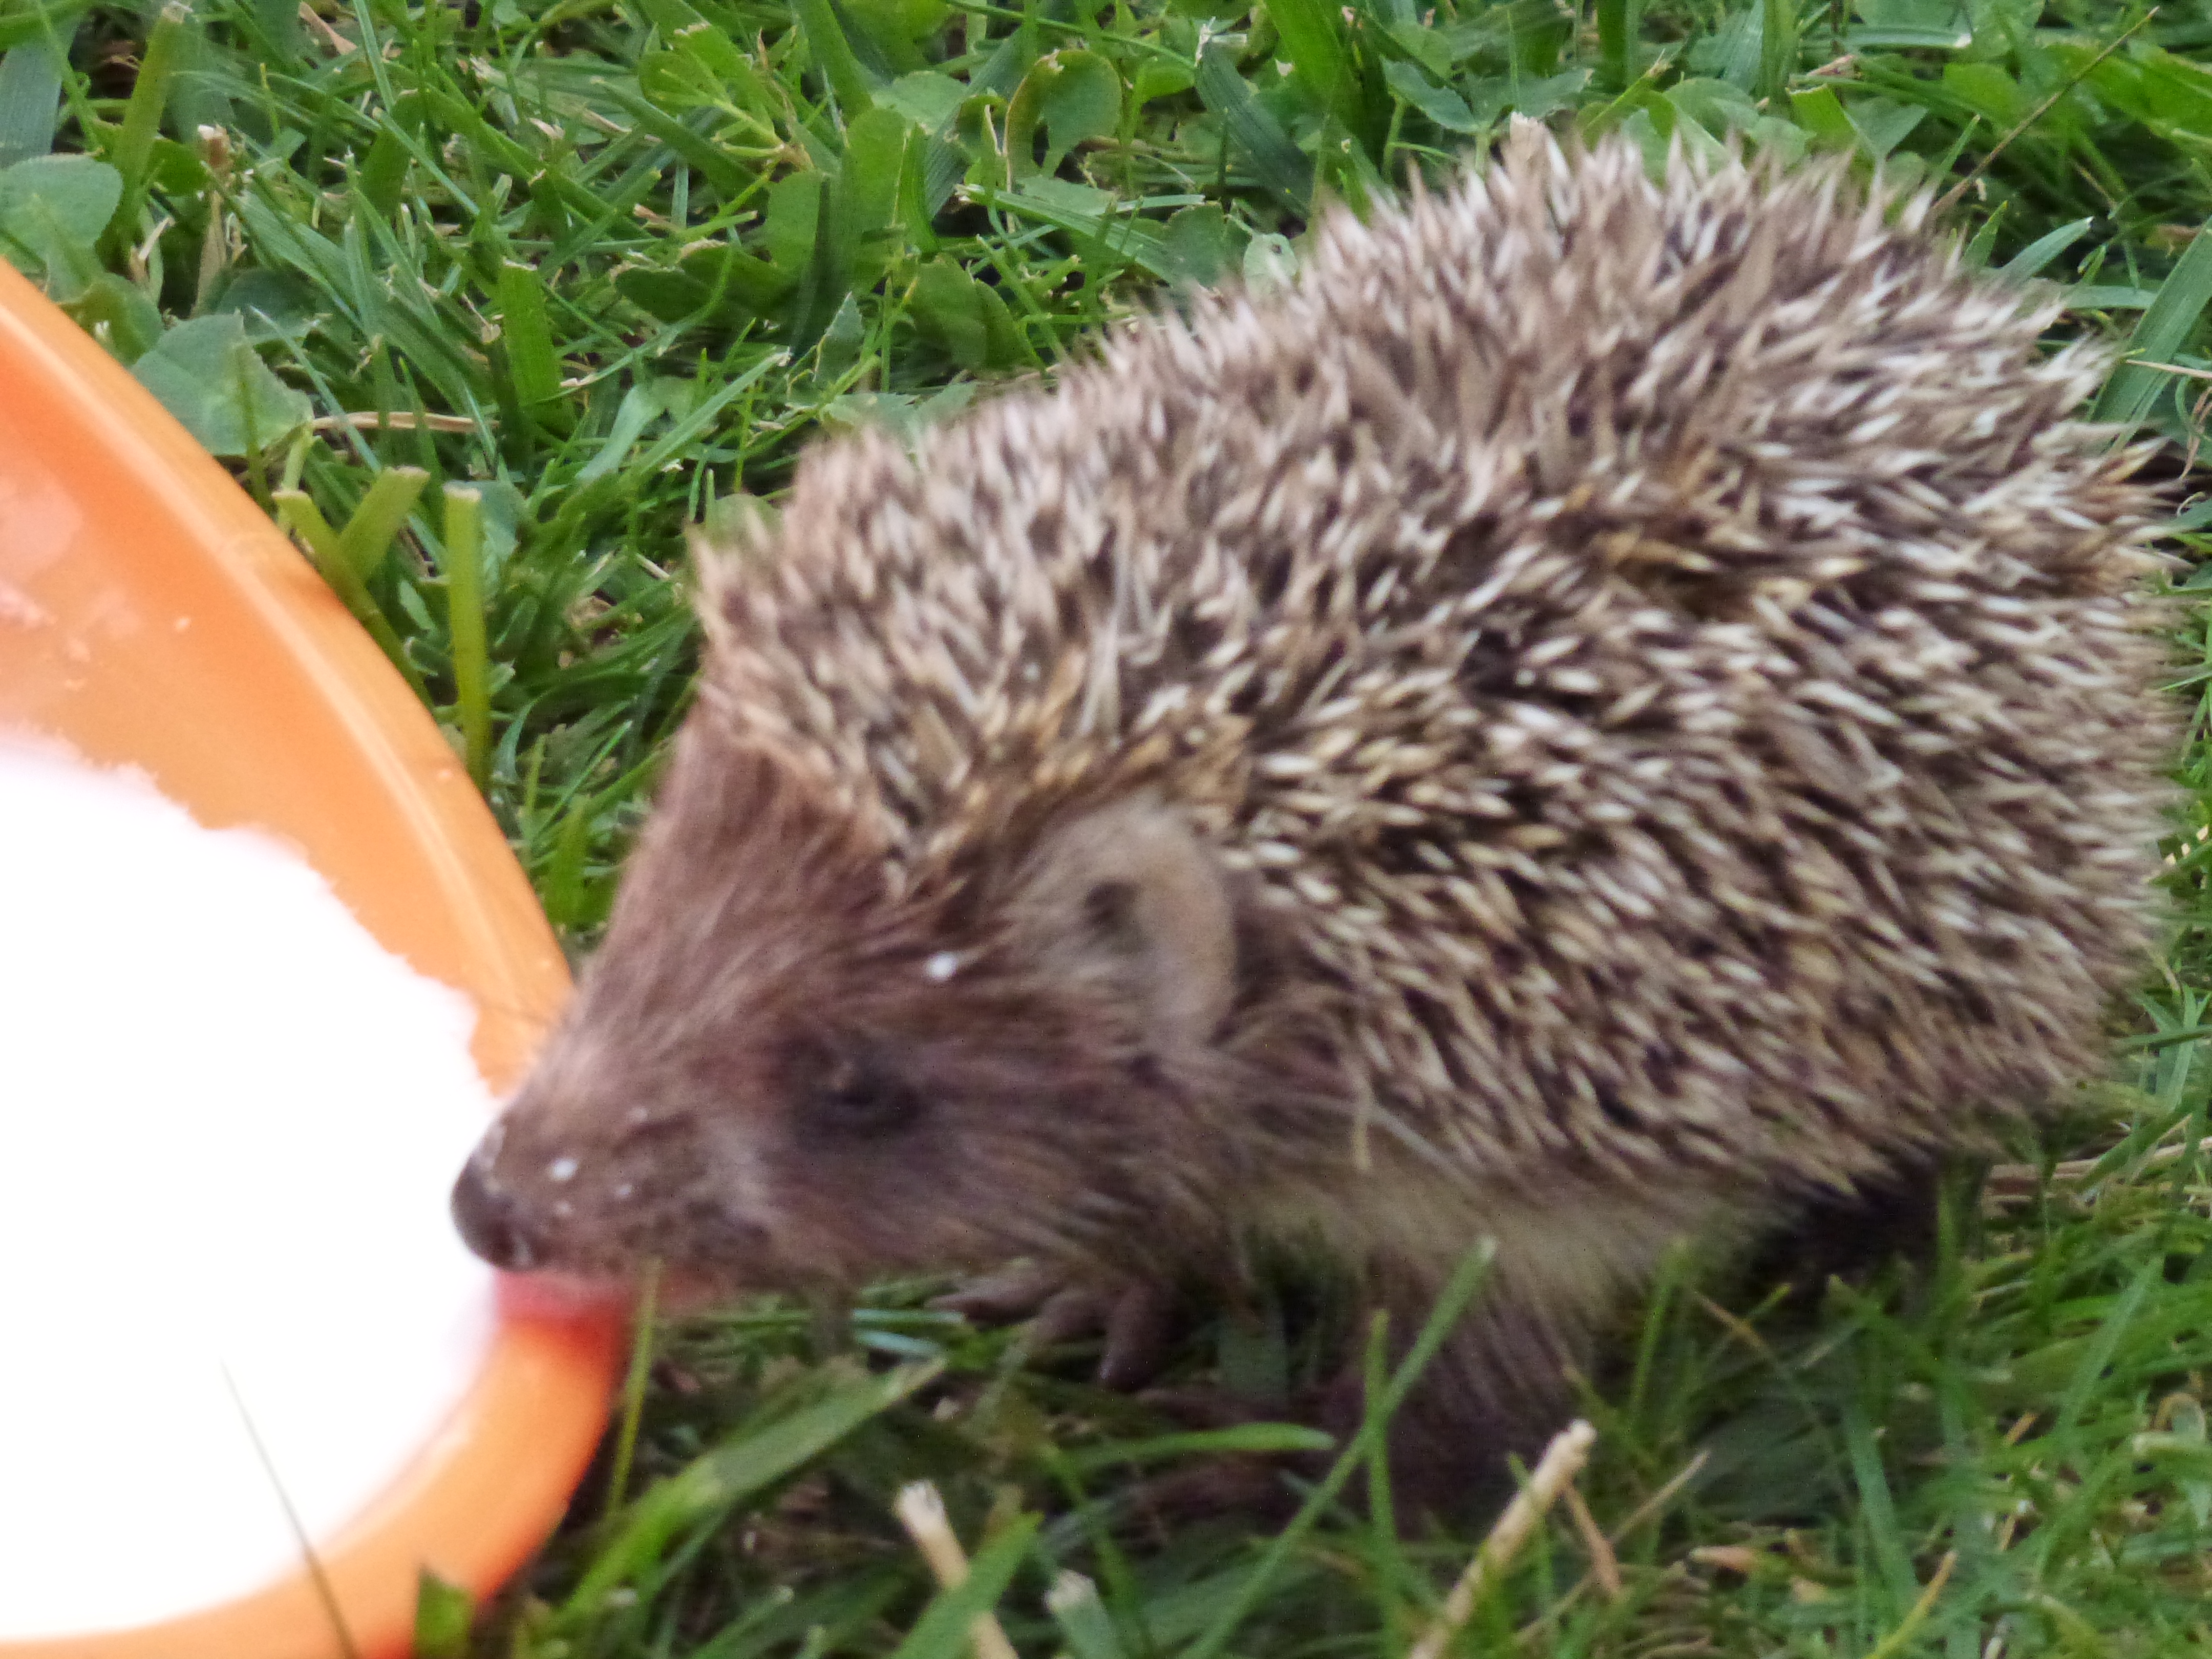
3. In the Wild
While I was photographing the 001 incarnation, a small visitor passed by:
TODO resize, add thumb
Footnotes
- There's now a special Pi NoIR version of the camera available without the filter. Getting the original camera to work for infra-red is described here.
- Though perhaps not this one, which some people are quite fond of. It used to belong to someone called Rosetta, apparently.