LEGOCases
House the Pi with kit you've already got
Fred Sonnenwald, June 2013
Contents
1. Introduction
LEGO is an amazing thing. I spent large chunks of time in my childhood playing with these magic bricks. It's one of the few toys out there I think that really lets your imagination have free reign. The things you can do range from building detailed models to the abstract. Who's to say that two bricks aren't a ship? But I digress.
In June of last year Liz Upton posted on RaspberryPi.org a set of directions for building a LEGO Pi case, by a kid called Biz. I was enchanted. Why hadn't I thought of this earlier? Building a case of LEGO was a fantastic idea. Even better I still have all my LEGO bricks. Only they're all at my parents house, so I had to put the project on hold. But now I've got the opportunity to share a bit about building my case after having finally gotten around to picking up my kit.
While we're at it I'll also do a little overview of some of the other cases out there. Maybe put my Civil Engineering degree to some use, eh? Because really, a set of directions for a specific case takes away a lot of the fun of LEGO I think. Yes, every set you can get comes with directions, but it's often what you do afterwards that really starts the magic. So instead of a specific set of directions, I'm going to talk design features and limitations.
My goal here is not to say "here's how you build a case" but, like the Pi itself, to tickle your imagination into thinking how you might take the LEGO you've got and build your own case. The number one reason for doing this? I saw Biz's directions and immediately thought, "Awesome. Only I don't have those bricks and I can't afford to get them." (Being a poor University student does have it's downsides.) No matter — just grab what you've got and dive in!
2. The case I built and why

Because of my degree I approached building my case with a specific set of design goals. Criteria I wanted to meet and the like. After reviewing Biz's case and deciding I didn't have the pieces, I considered building a clone. That is the same final design, but using different pieces. Unfortunately, I felt that I wanted the case to perform in ways I thought Biz's design didn't accomplish.
I was a little worried about how sturdy the design was. At that point in time I was doing quite a bit of travelling and I wanted my case to be able to travel with me. Travelling means surviving either banging around in checked luggage or in my backpack. Neither of them the best environment for precision electronics. That also meant I needed to design a case that protects the Pi's ports.
I also felt that getting the cover off would be a pain. That sucker is held down proper and if I ever wanted to look inside to admire the pretty electronics, or mess with the GPIO, I was gonna have a bad time. The case should also be no larger than necessary and look cool. (That meant keeping Biz's logo in some way — that bit is awesome.)
So just like a real Civil Engineering project I found myself with a balancing act. I needed to balance my design goals against the bricks I actually had. And similar to a proper project I had my own set of design codes to follow. You don't just willy-nilly pour concrete floors and hope they don't crack. In the same way I don't just put bricks on top of each other.
Specifically, I don't allow for multiple vertical cracks to align. This makes for what's called in Civil Engineering a plane of weakness or a slip surface. A place where a material will slide with little to no effort. In LEGO this translates to what you build falling apart at awkward times. Usually bad news, and definitely so when sturdiness is a goal.
2.1. Design details
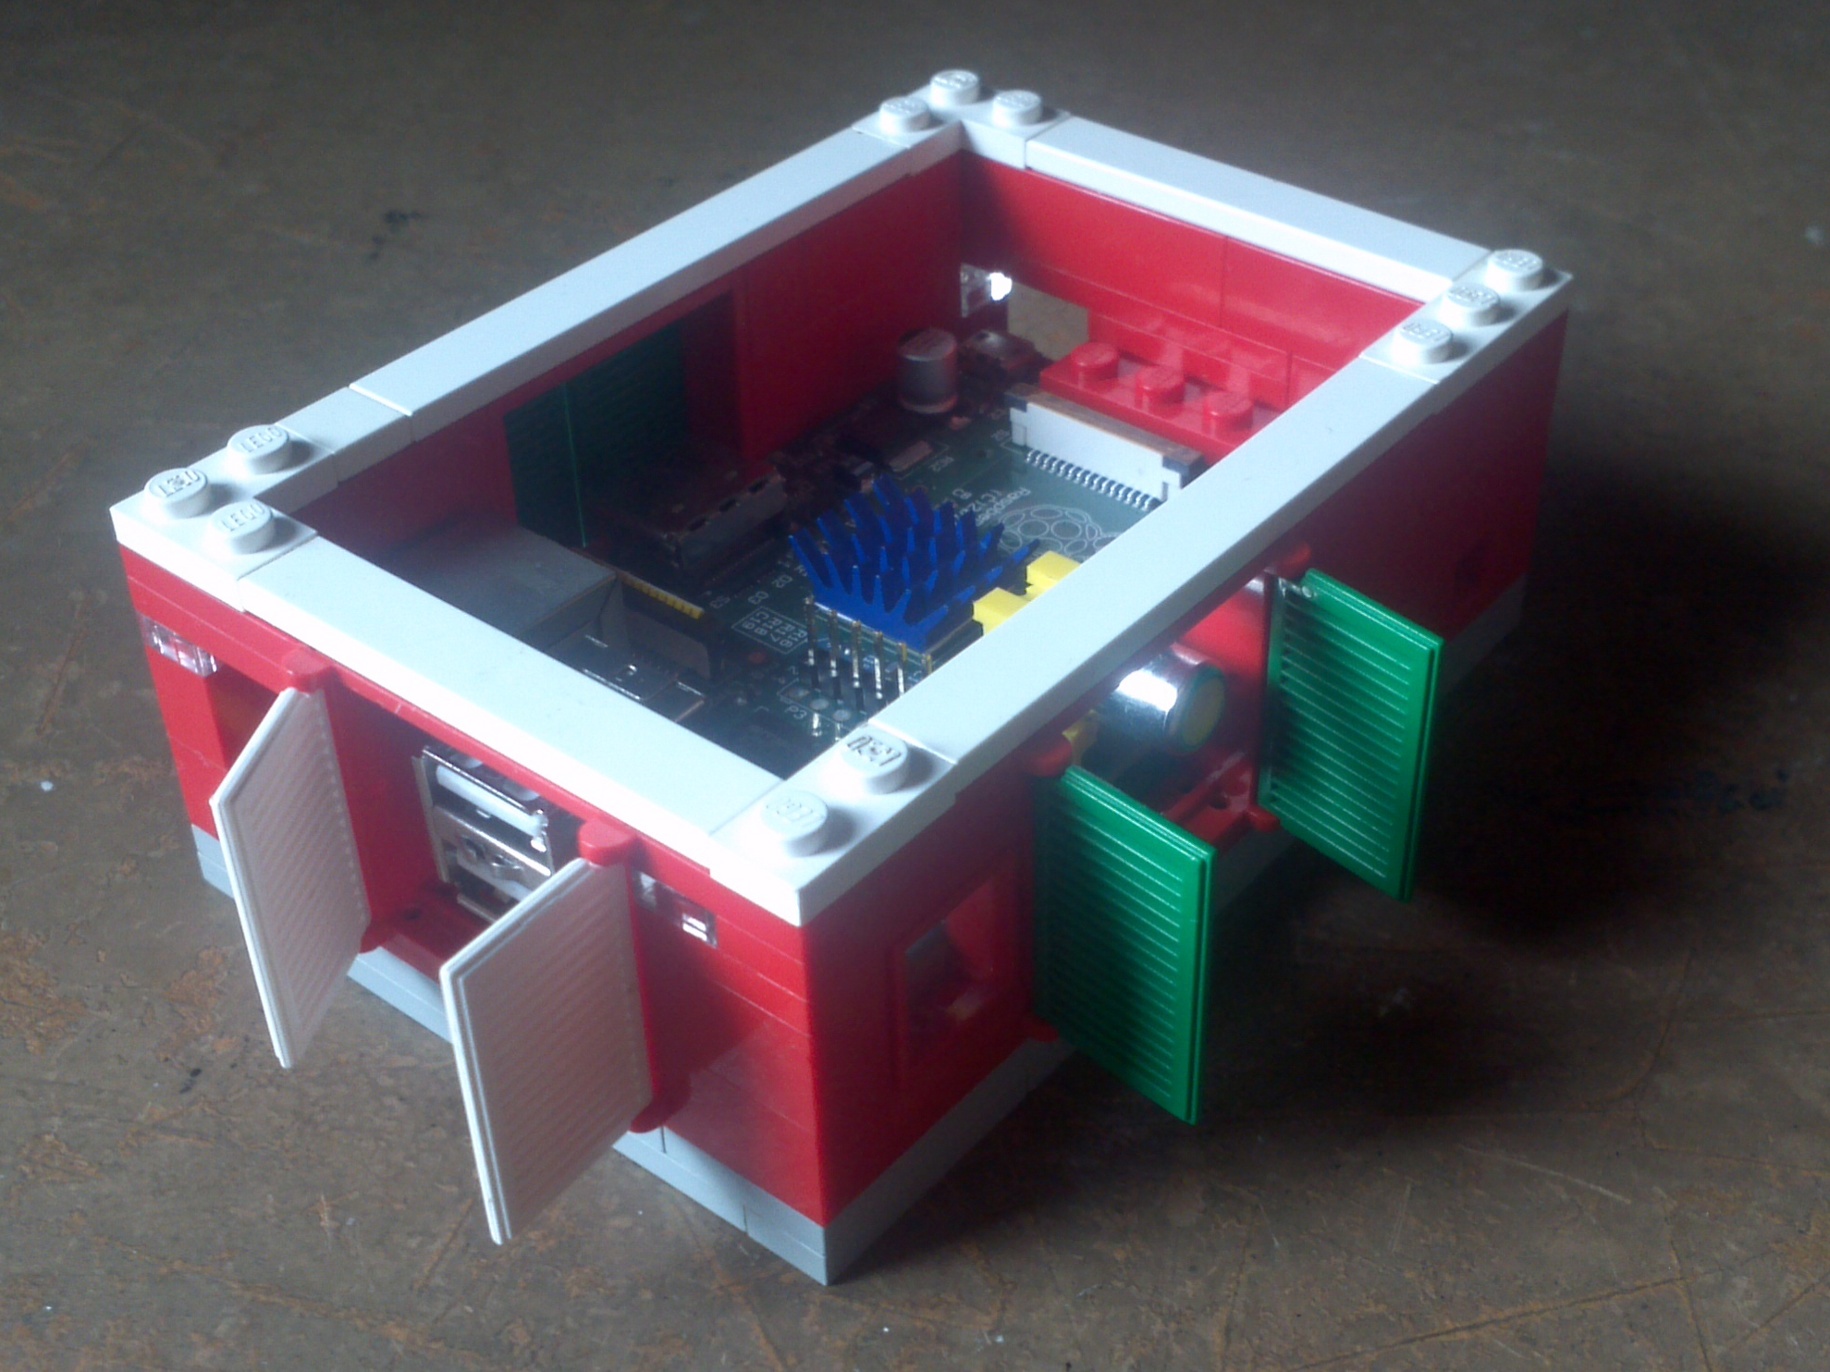
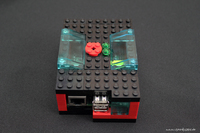
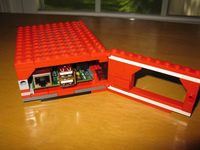
Essentially my case can be considered a derivative of Biz's design, so again, a tip of the hat to her. The easiest possible modification was a way to get the top off easier. Simply replacing a portion of the outer rim with the tile pieces achieves this effect. All of it can be tile, or only a portion as I've done. The former will have the lid just sitting on, which is great for easy access. The few studs I've left is a perfect compromise for travel.
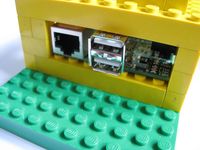
For port access you can see I've used shuttered windows. The RCA, VGA, and HDMI ports all extend from the circuit board of the Pi, and the shuttered windows provide solid cover for them without having to extend the case wall away from the board at all. A small window has been used to let the diagnostic lights be seen.
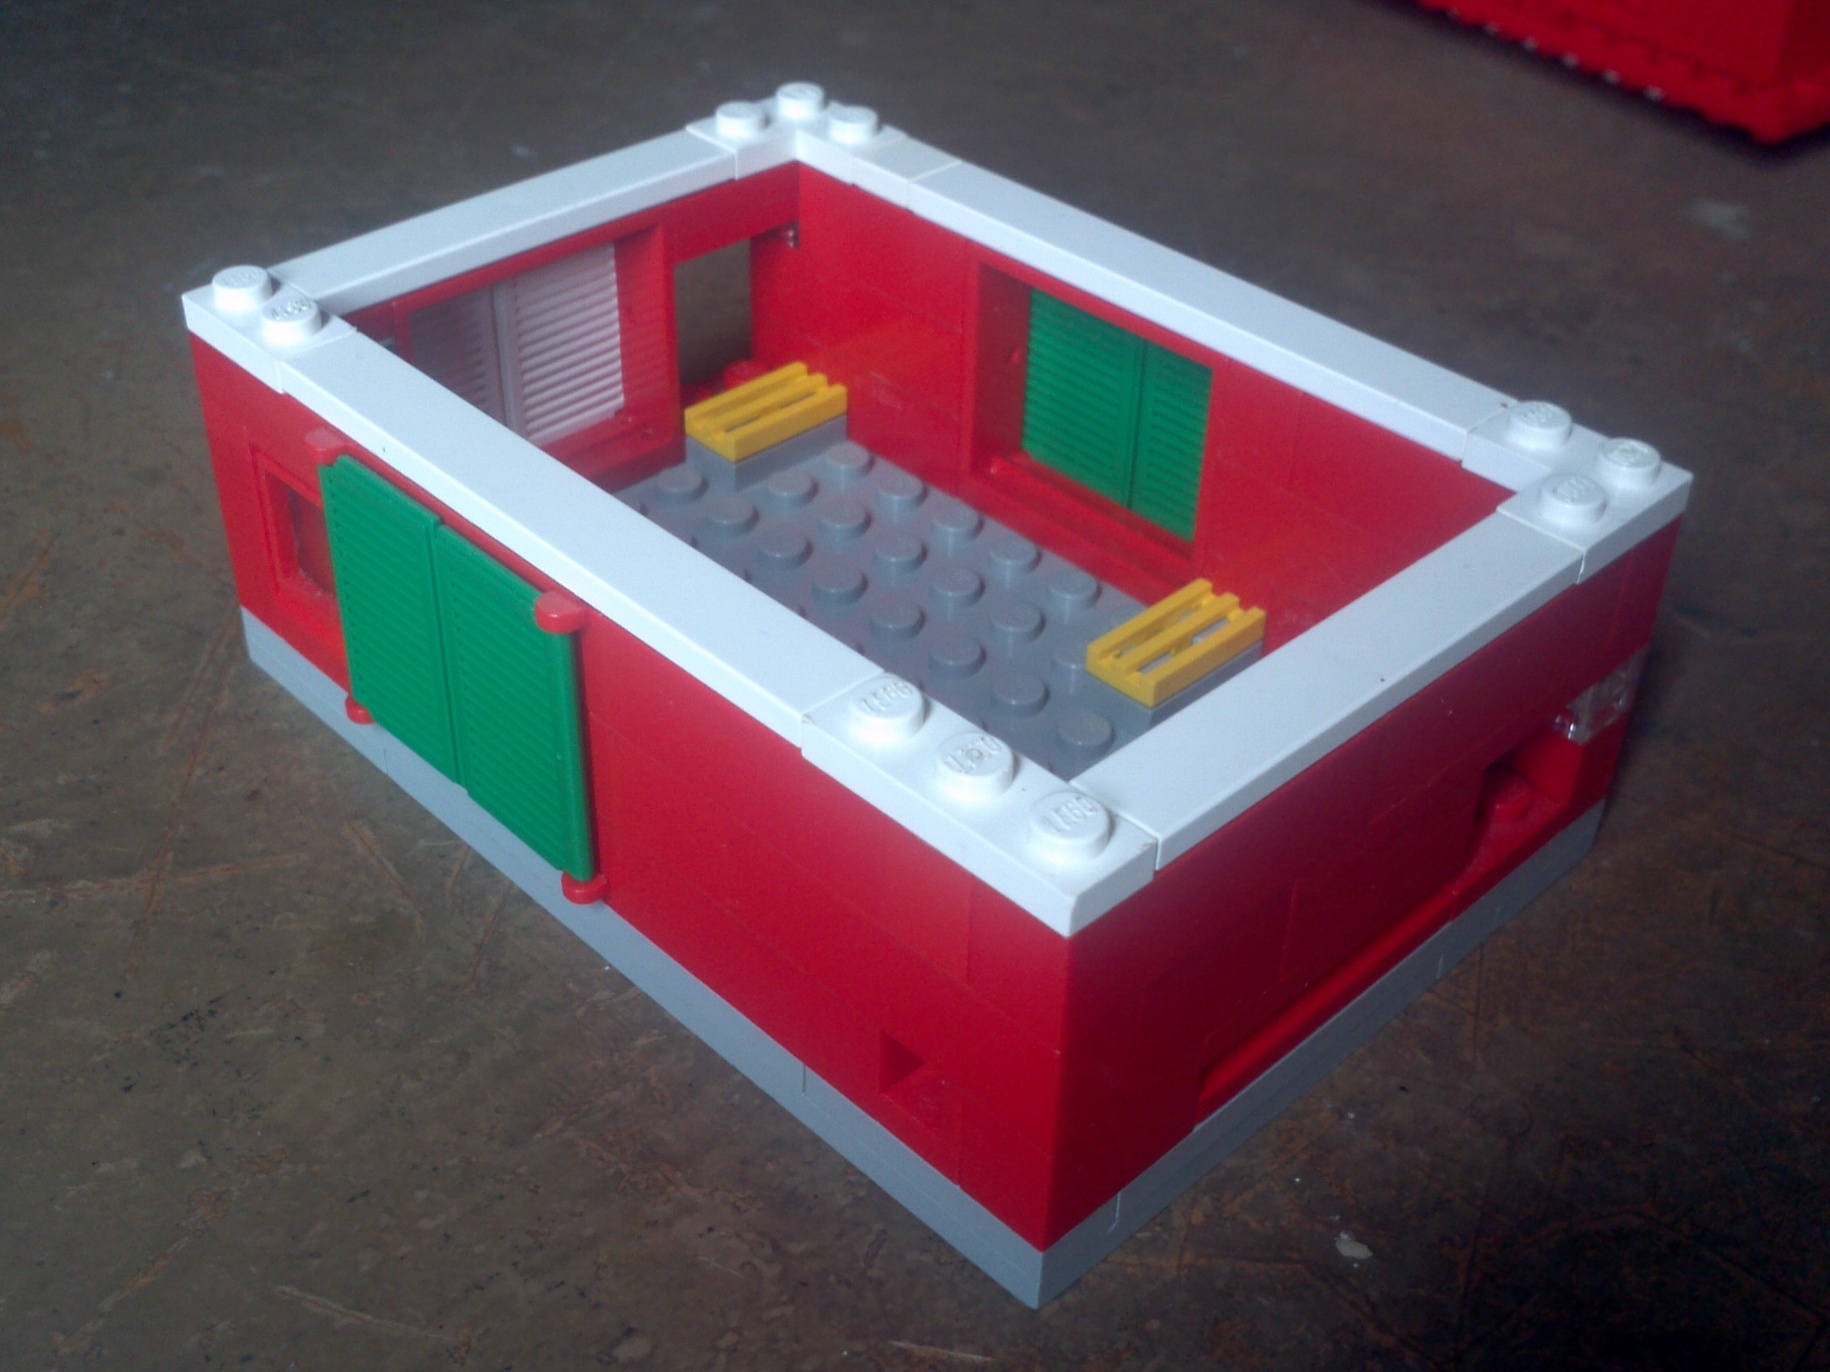
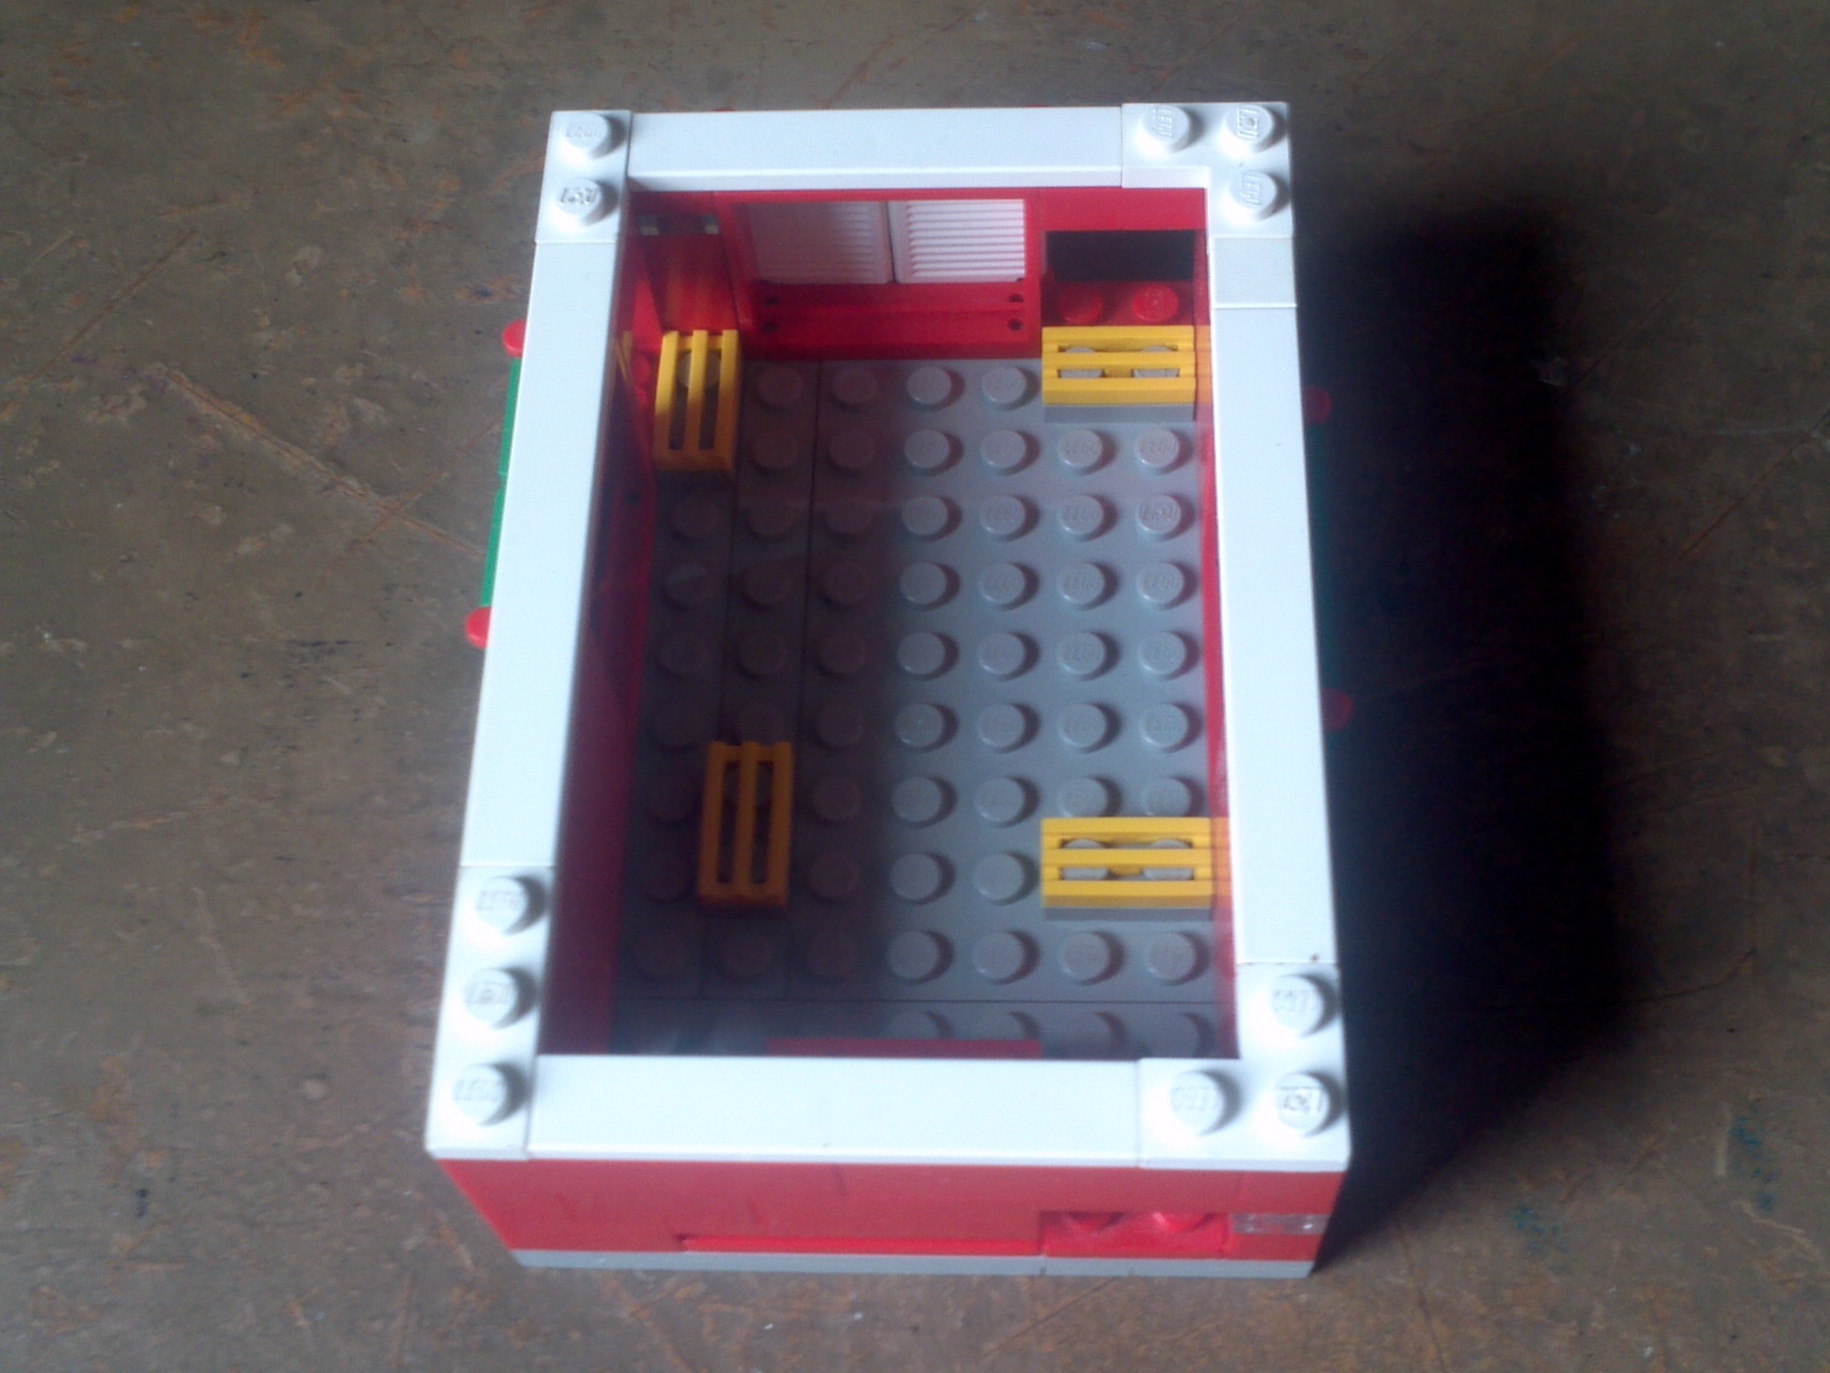
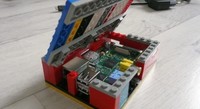
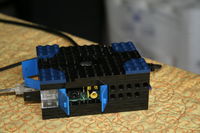
You can also see that the positioning of the risers on the bottom is different than Biz's. These were chosen to be in locations where there is nothing soldered onto the bottom of the Pi's circuit board. This lets it sit smoothly and evenly.
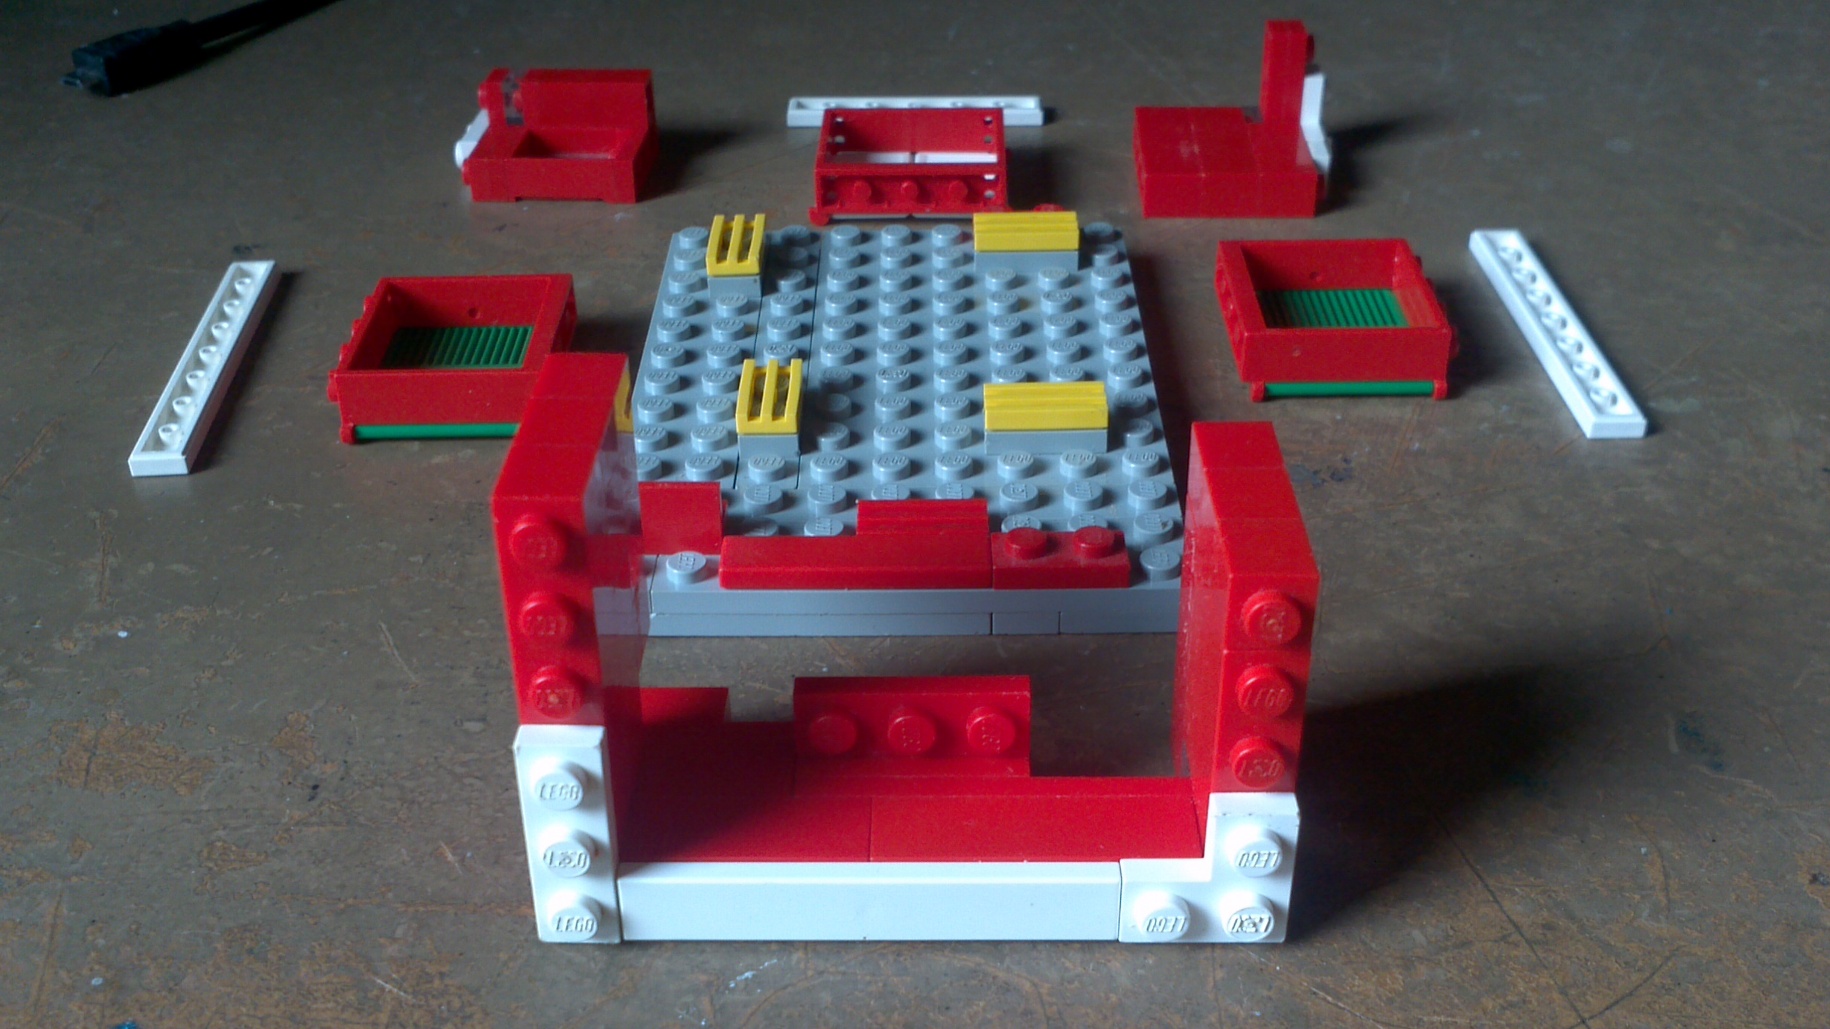
There is also a bit of tile in red at the southern area of the bottom. This supports the SD card and the card slot. The 2x1 in red at the north and south minimise the area from the two fully exposed ports — the ethernet and micro USB. When designing I could find no good way to protect every single port. These two are the two that are most likely to be used full time in my use cases so they got left exposed.
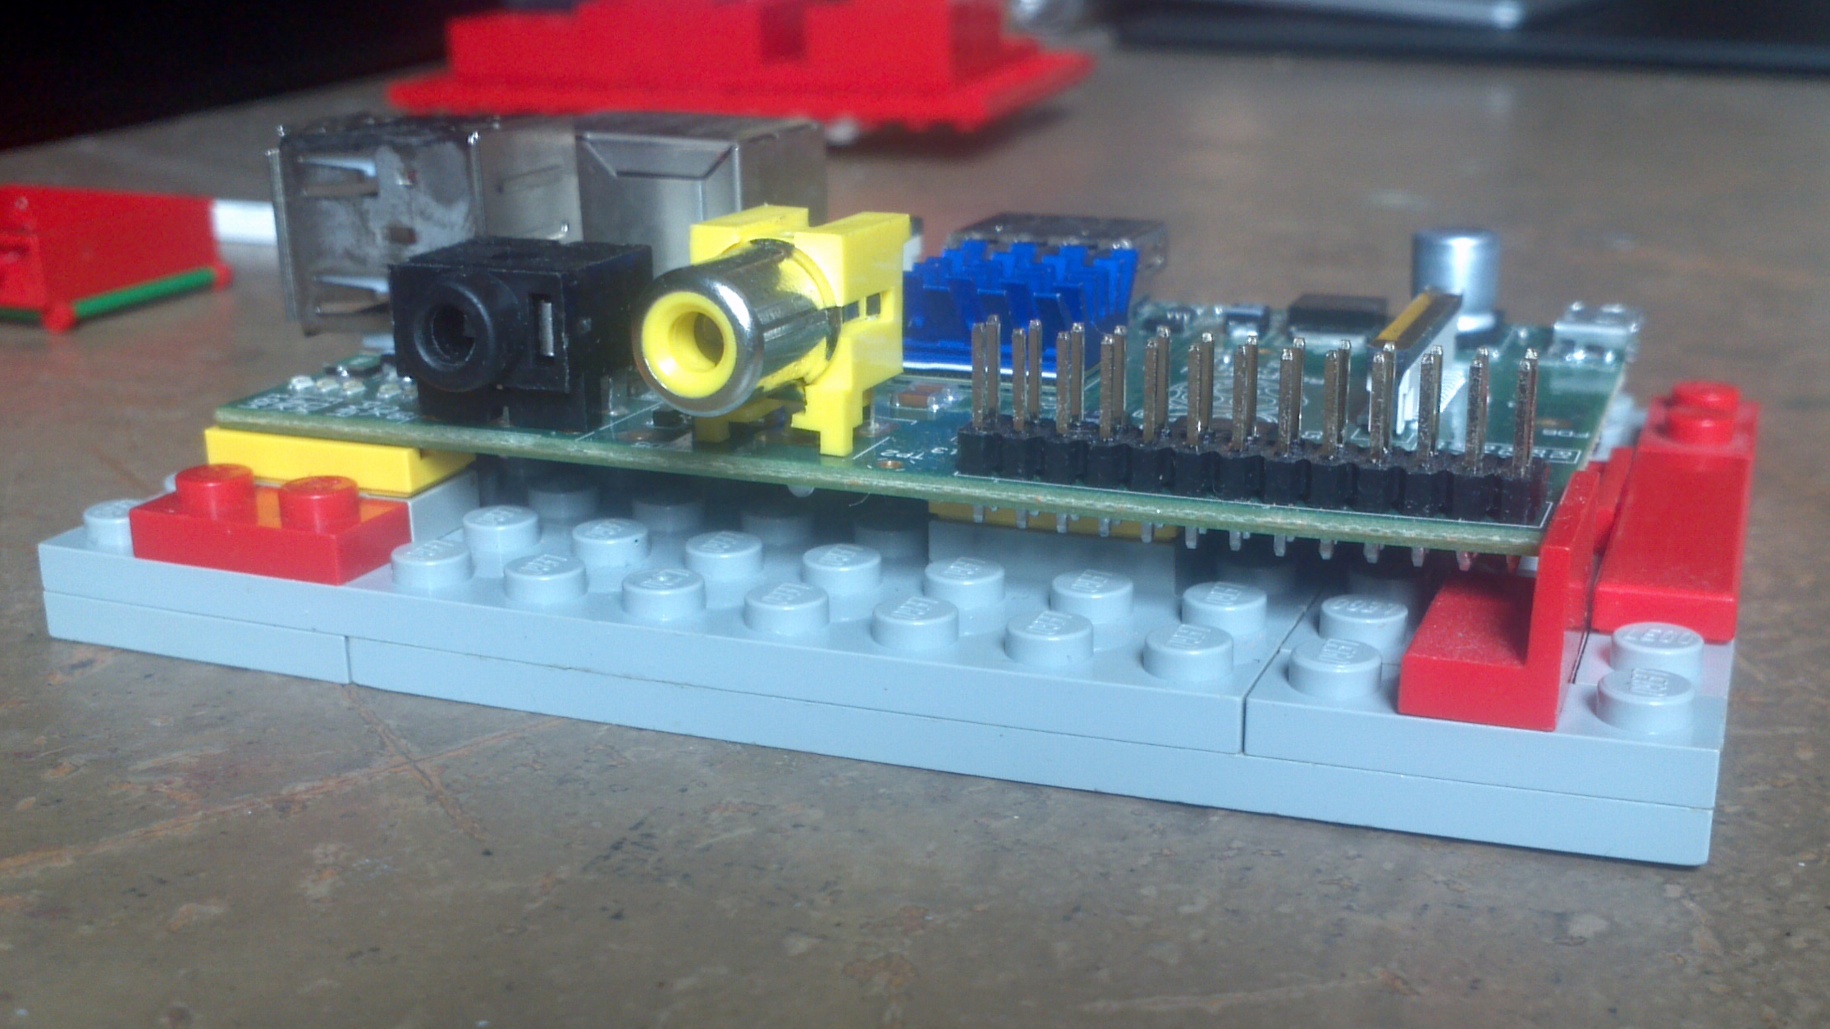
The Pi is also lifted up an extra 1/3rd tile on its risers. This is for multiple reasons. It allows for: better support of the SD card; airflow underneath the board; the GPIO pins won't hit stud heads; the ports line up in the window frames better; and finally, it allows for a side panel piece to be placed. This is critical, as this is the piece primarily responsible for keeping the board from wiggling when you plug things in and during travel. Also note that the base is 2/3rds thick — this is extra sturdy — but due to the interlocking thin tiles it isn't too bulky.
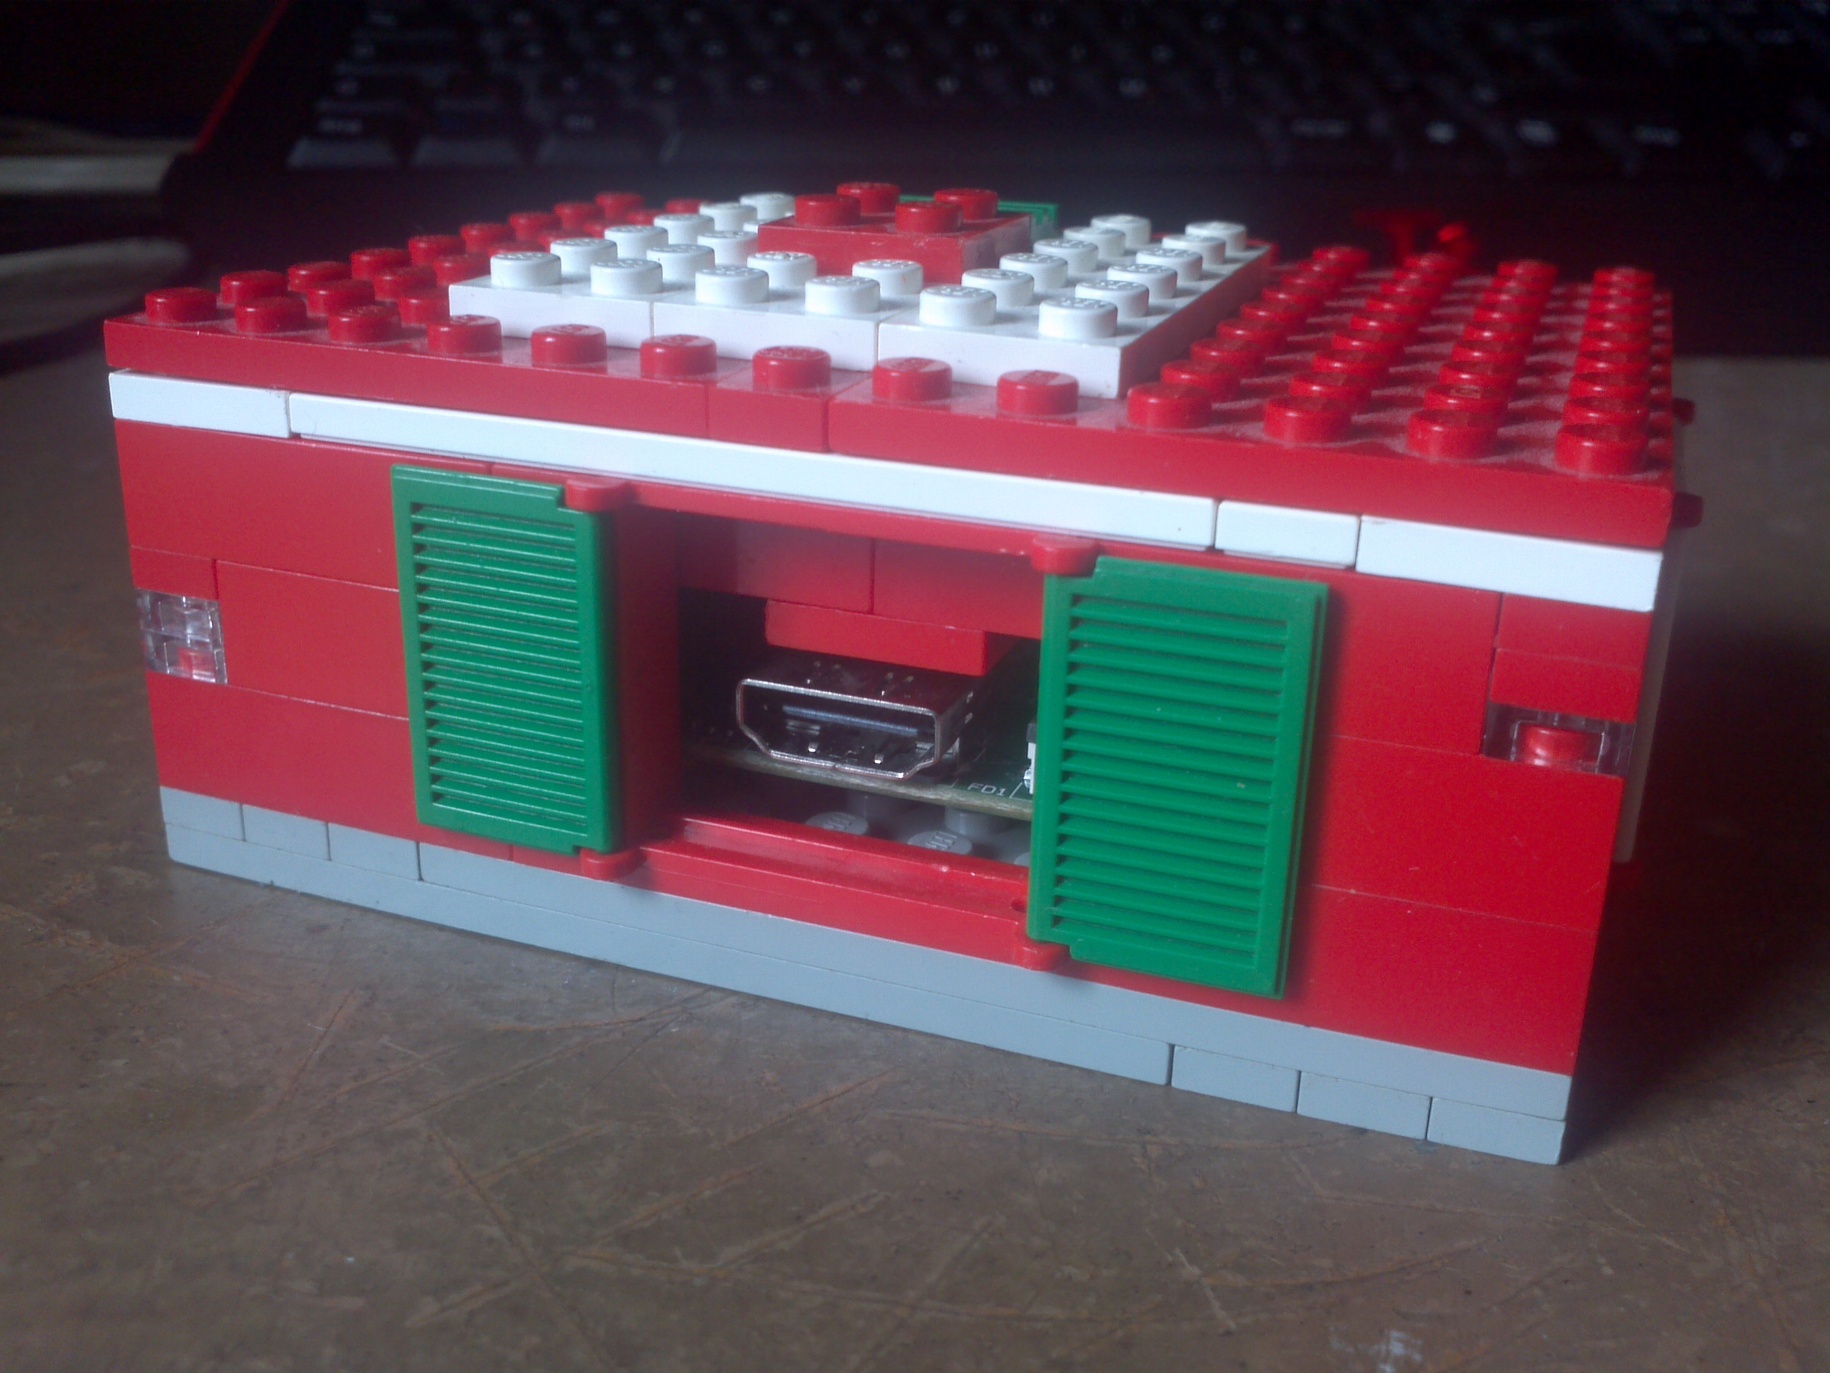
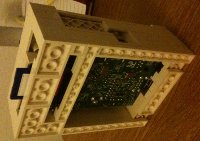
You'll also have noticed that this lid is rather bulky. This is what keeps the Pi from shifting vertically in the case. It also comes down inside the main case walls on the other sides of the windows to make plugging cables in easier. Finally it provides protection at the top. Those clear tiles in the sides are pure decoration — I also didn't have enough 1x1x1/3rd pieces to make up the gaps.
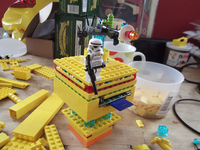
2.2. Building it
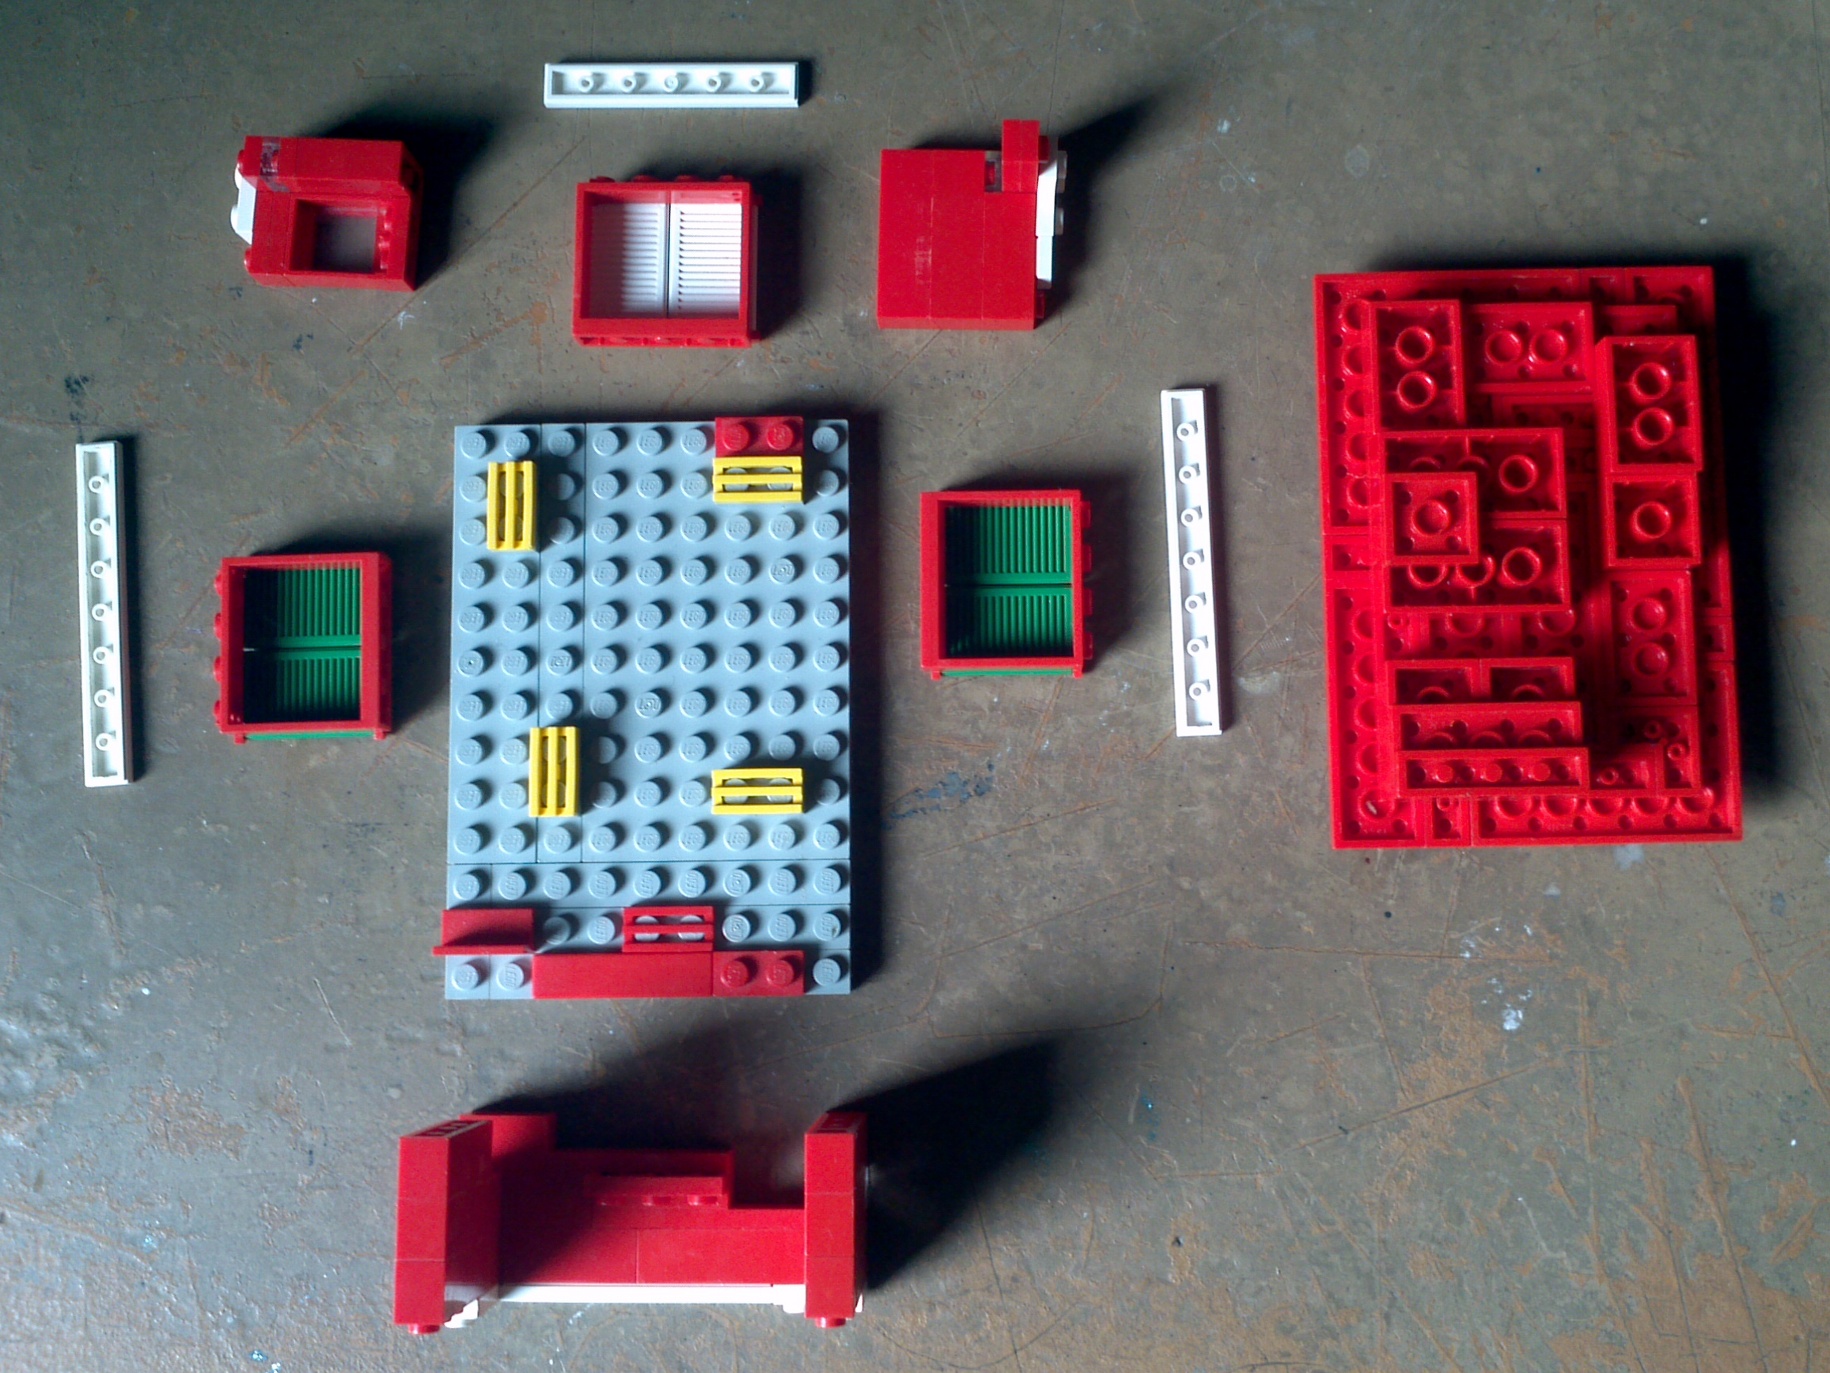
Hopefully you've got an idea now of what I've built, but I'm not going to give explicit directions on how to build this case. I want to share the fun I have with LEGO, which is the creation process. Finding just the right combination of pieces. Picking out the colors. I think from the photos that most of it can be built anyway with a bit of sense.
The other thing is that as far as I know some of the pieces I've used you can't get new anymore. That may make it extra hard to build. You'll either have to find them in your collection or find them second hand. I've found Peeron to be pretty good. eBay may work as well. Maybe you can find substitute parts on the LEGO Pick a Brick page.
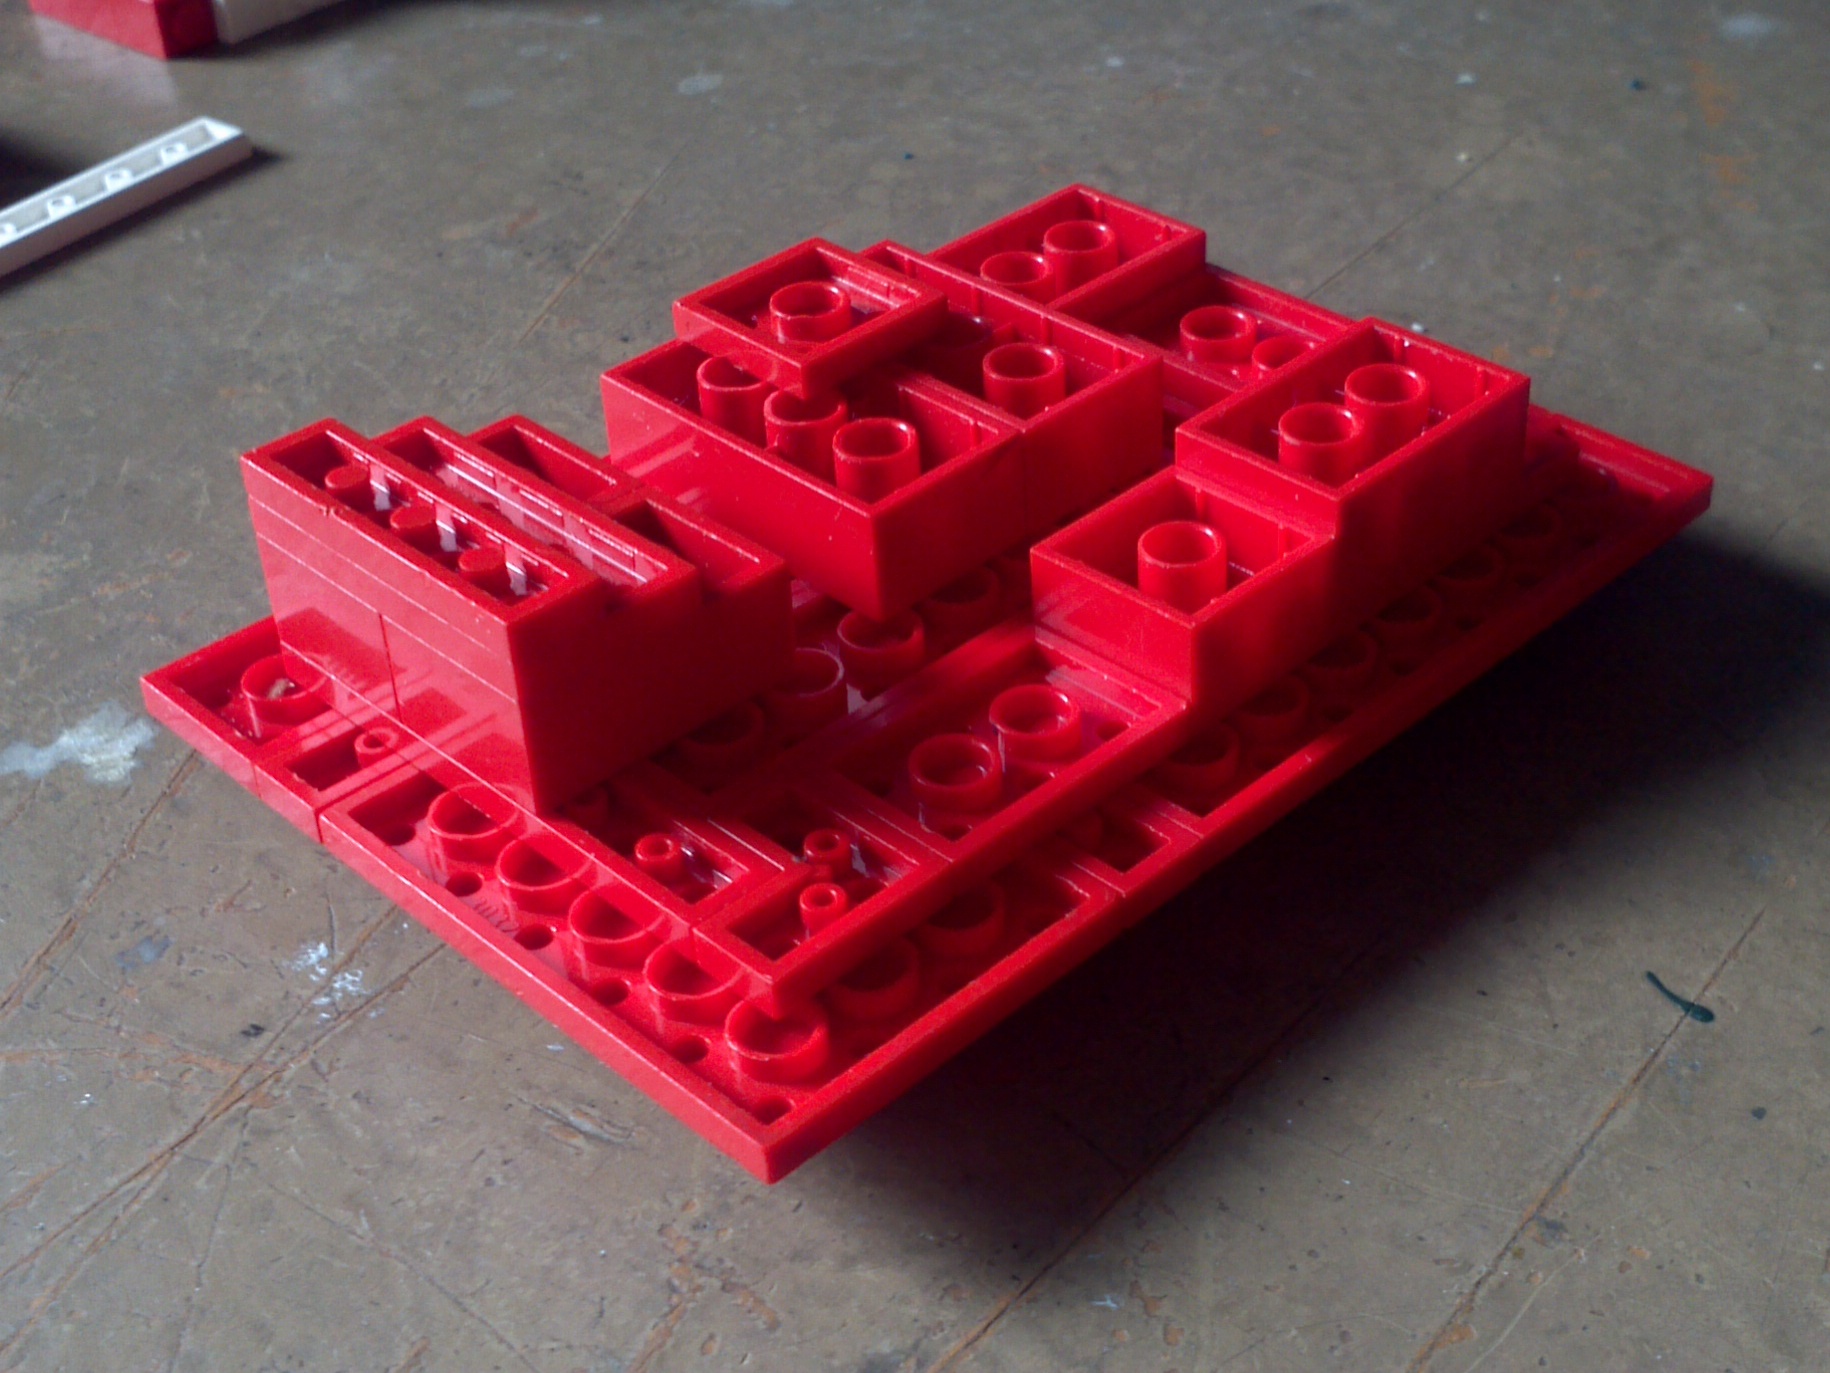
I will say in general that what I did was find enough 1/3rd height pieces in gray to make up a solid 2/3rd thick base. (This means no slip surfaces!) At this point if the risers are stuck on and the Pi put into position, and this reveals where the windows should go. The walls were built up around to match the window heights. Smooth tiles were used over the window tops to keep them in position and the few studed white bricks over the rest to anchor the roof.
The roof itself was built more or less seperately, after the rest of the case was constructed. A 1/3rd thick loose conglomeration of red bricks to make a solid cover was collected, and a second 1/3rd layer placed below (level with the white rim) to tie it together without making the case any higher. That's probably sufficient, but as I mentioned before I built it down more in order to make the case sturdier.
3. Other cases
Now, as I've said it may be tricky to build my case because of parts issues. Hopefully though, you now have an idea of why I've made the descisions I have. What sorts of things to consider. It might also by the by give you a little appreciation of what Civil Engineers consider when designing a new building. I think this gives you the power to build your own case to your own specification.
You now know what sort of thing to look for and what you might want to put in or do with your case and can consciously aim for that. But don't just be limited by what I've done. Let's take a look at some other designs out there that I found while googling "raspberry pi LEGO case" — there are plenty of results. Here are a few things I found really cool while looking at them all. (I've included a list of even more cases at the end of the article.)
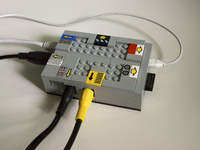
I love the use of tiles for labelling. This case is also one of the ones that I'm now thinking of as "half height" — Primarily only 2 bricks tall as opposed to the three that Biz and I have both used.
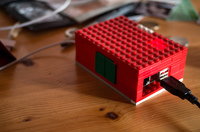
Someone else had the same idea and used shutters! I'm thrilled! Also another nice red, green, white colour scheme going on.
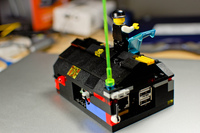
LEGO really is only limited by your imagination. Turn your case into a work of art!
I like how slick this back panel feels. It also lets you get away with a slightly shorter case.
This notch on the etherport is nice. Gets away from a rectangle case. The windows on the top make really stylish vents and the little Pi logo is there too!
Consider as well that the lid of the case doesn't have to be fixed or resting, that it might be hinged as well!
The open bottom here I thought was pretty clever. A nice way to lighten up the case or save on finding bricks for the bottom.
The top doesn't have to be flat. Sloped roof bricks have been used to good effect. Loads of extras make this one into another example of a work of art.
Rather than open out the top, the Pi slides in and out. Clever detailing to make that work and fix the Pi in place.
Ah, LEGO Technic. I don't know if it was intended this way, but the Technic holes form perfect vents for passive cooling. Very clever use of the doors to cover the ports. If I had some of these pieces I think I'd want to do it this way.
3.1. More links
More to cases links, in no particular order:
- http://miriamelewis.blogspot.co.uk/2012/02/raspberry-pi-lego-case.html
- http://arstechnica.com/information-technology/2012/09/university-builds-cheap-supercomputer-with-raspberry-pi-and-legos/
- http://elinux.org/RPi_Cases#Lego_Case
- http://www.jakebyrne.com/adding-web-connectivity-via-usb-to-remote-controlled-sockets-part-2-software/
- http://imgur.com/XBlwp
- http://www.raspberrypi.org/phpBB3/viewtopic.php?f=40&t=10510
- http://www.flickr.com/photos/rooreynolds/7159652835/
- http://www.raspberrypi.org/phpBB3/viewtopic.php?t=17654&p=183835
- http://netzpirat.blogspot.co.uk/2012/07/hier-mein-lego-case-fur-den-raspberry.html
- http://blog.stuart.shelton.me/archives/918
- http://www.overclock.net/t/1381518/raspberry-pi-battletank-lego-case-with-a-fan
- http://news.sean.co.uk/2012/10/building-lego-case-for-raspberry-pi.html
- http://www.bit-tech.net/modding/2013/05/07/raspberry-pi-case-competition-voting/8
- https://sites.google.com/site/legoraspberrypicase/
- http://makelehighvalley.com/blog/2012/08/lego-case-for-the-raspberry-pi/
- http://flikto.de/2013/05/09/pibrick/
- http://www.wiredfatherhood.com/2013/03/27/my-new-raspberry-pi-lego-case/
- http://www.bitrebels.com/technology/a-geeky-collection-of-creative-raspberry-pi-cases-15-pics/
- http://riscpi.co.uk/raspberry-pi-case-in-lego/
- http://www.makeuseof.com/tag/8-interesting-diy-raspberry-pi-case-ideas/
And possibly the grandest of them all, a cloud in a Lego box!
4. Conclusion
What else? After seeing all this how can you do anything but go out and build!